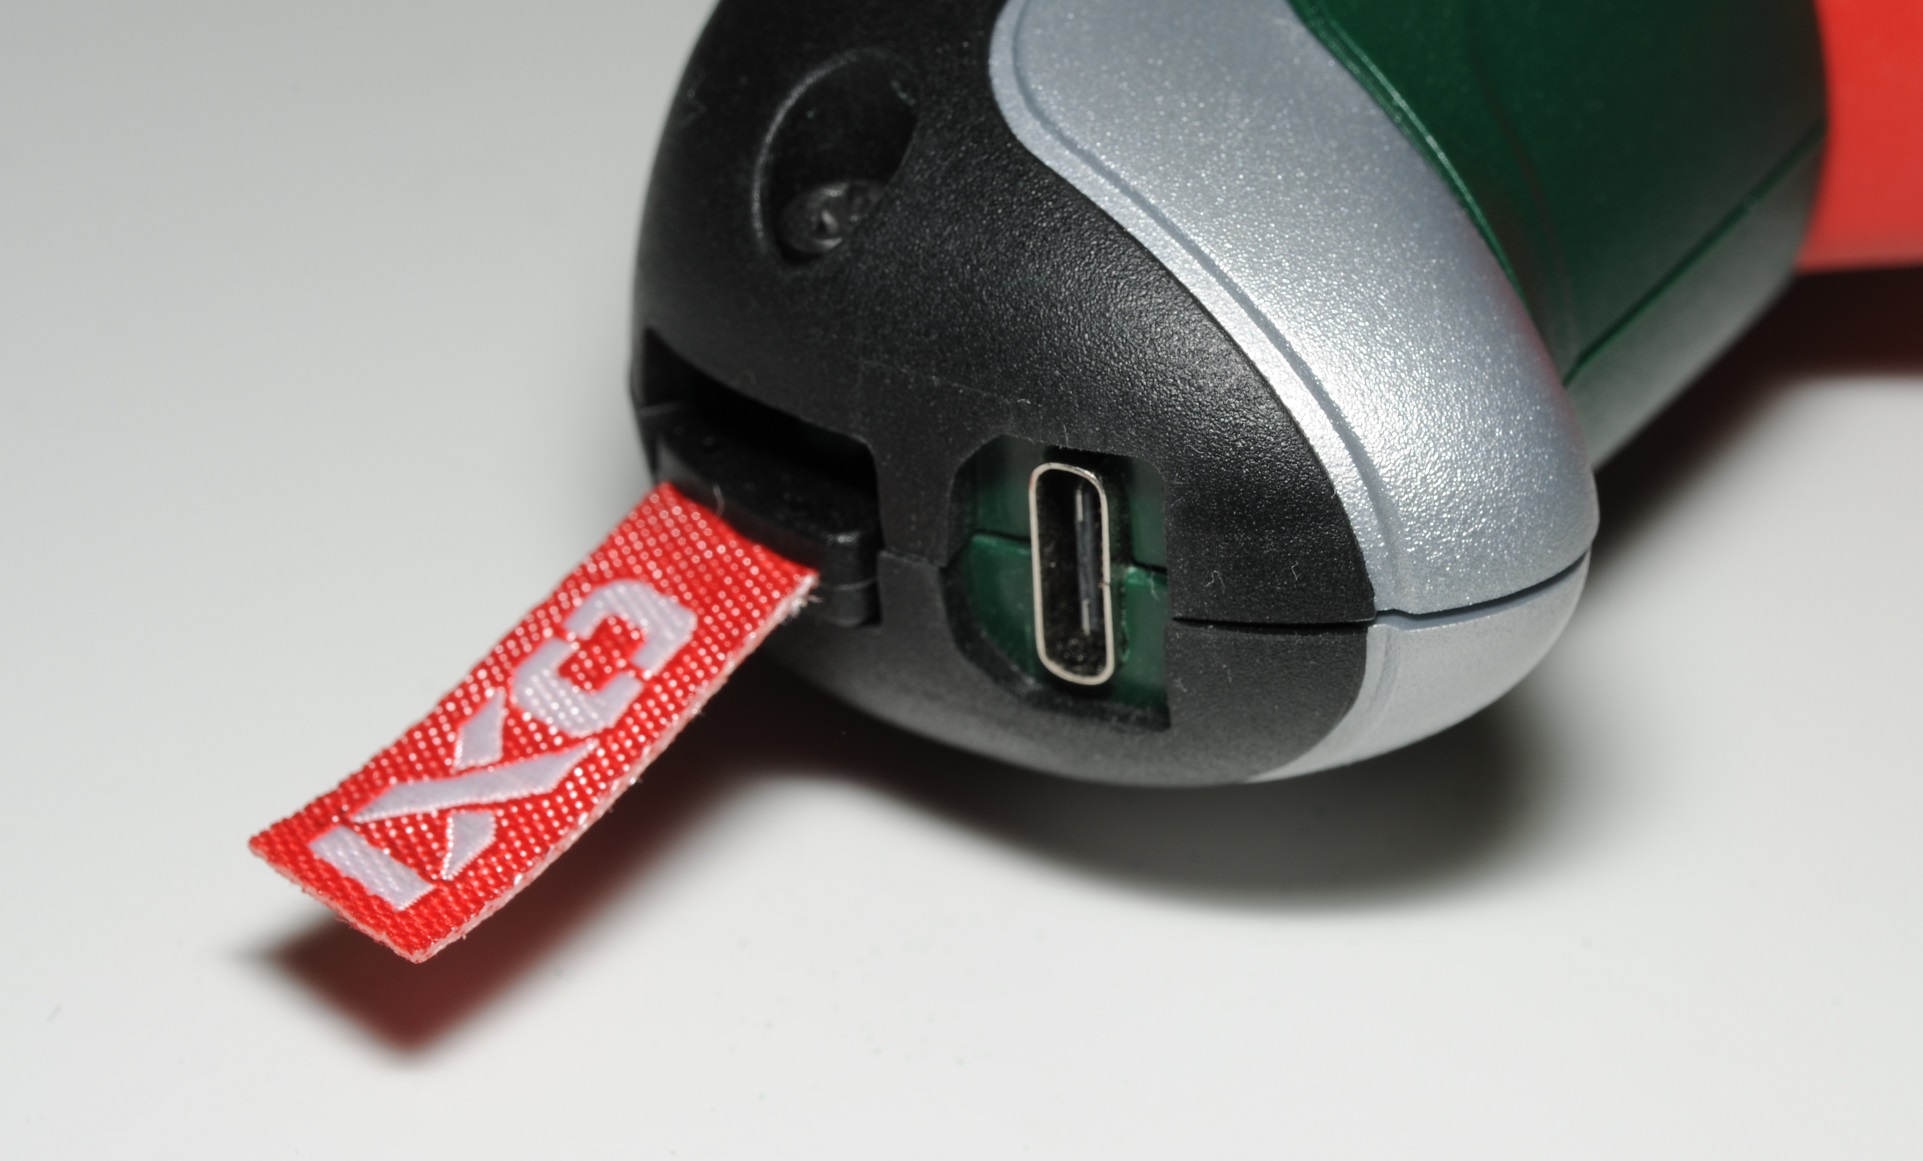
In this age of USB-C – I’m beginning to tire of things which require Micro USB to charge.
Today’s annoyance: My Bosch IXO. At the time of writing neither my model or the current one charge with USB-C. No doubt people at Bosch are beginning to ask “Do we need to take this new USB seriously?” – but that doesn’t help us much right now.
So let’s open it up.

Damnit. It’s all on one PCB, and there’s a nasty piece of rock hard epoxy behind the micro USB connector. This rules out making a ‘Retrofit’ PCB – which would have been a cool project.

After a good blasting with my Leister Hot Jet S – the old connector and the epoxy is gone. Small bummer that I tore those unused pads from where the connector was, but we don’t need those anymore. I’ve also got a couple of wires there to lead to the new connector
Now – what are we gonna put in its place?
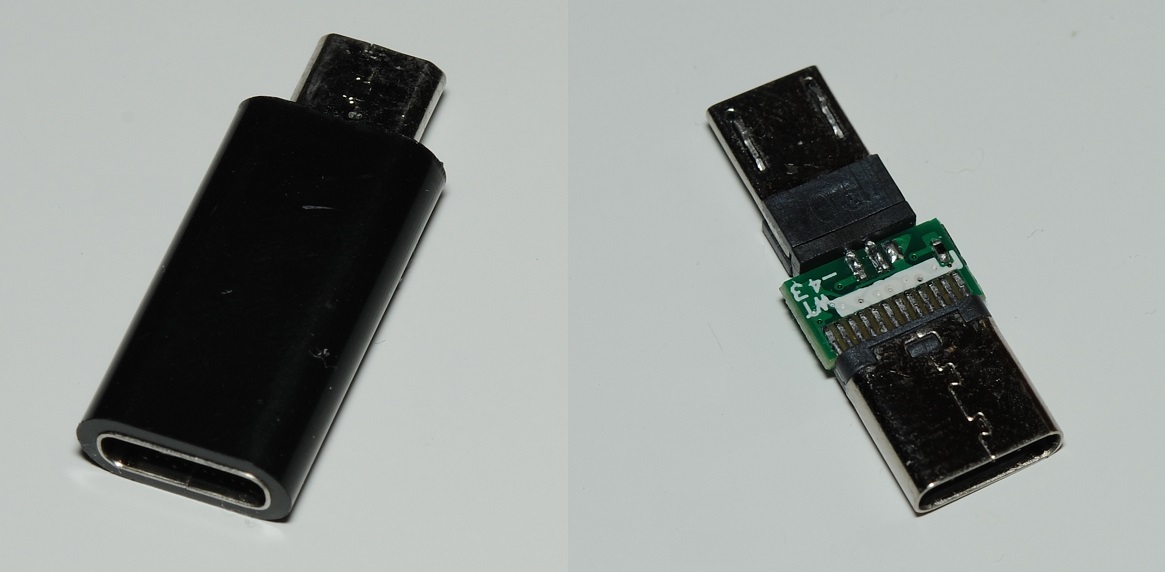
I bought a few Micro-USB to USB-C adapters off eBay and tore the plastic case off one of them. They are compact and have everything we need.

We now have the new connector soldered down. This was quite tricky. I found that the easiest way was to position it by tying it down with some copper wire before soldering. The shell of the USB-C connector is soldered down to the ground pad on the PCB previously used by the Micro USB connector.
Wiring is simple. With those red/black wires I previously soldered on connected to the Micro USB GND/VBus connections. The required 5.1K resistor is already on the adapter PCB.

For added strength that copper wire also goes through the PCB.
You can also see a tiny piece of Kapton tape under the connector. This was to stop the shield of the USB-C connector from shorting the pads used by the old micro-USB connector. By not outright removing all of those pads I made life rather difficult for myself – too late now.

And finally some new epoxy to ensure we’ve got a nice strong bond to the PCB.
Last job is to grab some needle files to increase the aperture in the case to the new larger size needed by the USB-C connector.
In the end it turns out we have something a lot tougher than the original arrangement, because of the longer length of the USB-C connector it now protrudes from the case meaning we can make a nice snug fit for it, significantly lowering the chances of damage by yanking of the charging cable.
That extra length of the connector also means we don’t have the annoying problem of plugs which aren’t the same shape as the supplied charger not fitting in either.

Conclusion
Unfortunately this doesn’t get our IXO all the way into the world of USB-C. PD aware “true” USB-C chargers like for example the Apple 18W iPhone charger, or USB-C Macbook chargers refuse to charge it.
To get full USB-C compatibility we would need an extra chip to negotiate the charge voltage. There are quite a few of these on the market now but we would have to make a custom PCB due to space limitations in the IXO. This is good enough for me – anything which has a USB-A connector on it will work just fine.
This all took me about 2 hours. Not an easy mod unfortunately. But if you have the skill and patience – well worth attempting.
Posted in Repair / modification