In this post I’ll be describing a method of soldering QFNs using solder paste which will achieve the best results, however, beware that solder paste, especially leaded types is very dangerous. Effectively you have atomised particles of lead which can easily get into water supplies, onto food preparation surfaces, under fingernails, wherever. If you end up ingesting it, you will be poisoned.
In the below guide I’ll explain how to use it safely however note that there are other ways of soldering QFNs which don’t use solder paste. Check YouTube. The below guide is for the intrepid only.
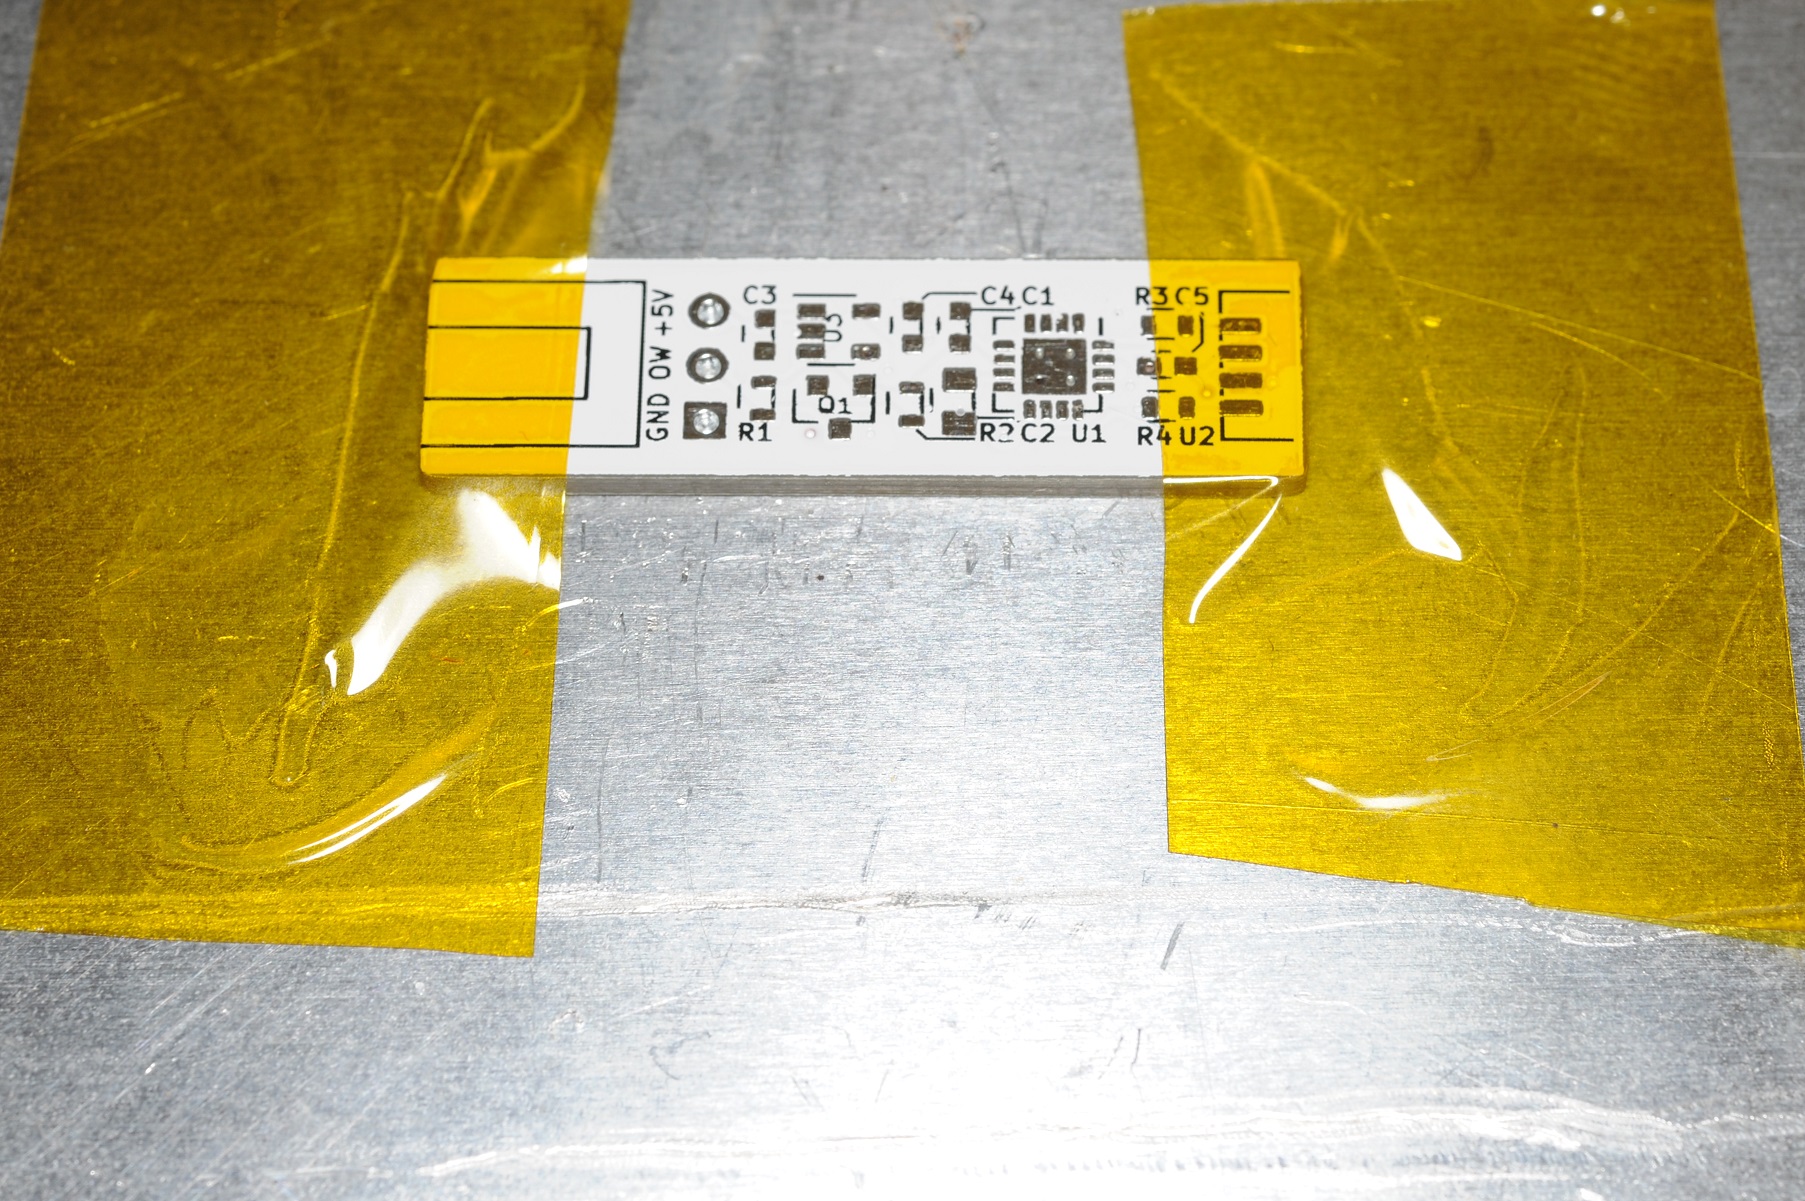
First tape a blank down to a piece of scrap aluminium with Kapton tape:
Now carefully position the stencil over the footprint. I found it takes a little while to find the correct position. The stencil I’ve used for this QFN-16 is IPC0007-S:

Dip one end of a blank (or anything else that isn’t going to melt) in the pot of solder paste. Then, holding one end of the stencil (which I’m not doing here as I had to hold the camera), scrape the paste over the opening in the stencil:

There should now be a fairly even application of solder paste on the footprint:

Carefully place the QFN onto the footprint. Exact positioning doesn’t matter too much as it’ll correct its self during soldering.
Drop the applicator board and the stencil onto the aluminium plate. Don’t get any paste on your hands, or anywhere else. Everything with paste on it should be on the aluminium plate. If not, do not leave the spot until it has been cleaned up. Now it’s time to head into the kitchen, drop it on the hob and turn on the heat, first to the lowest setting.

Like an obscure addict, it’s now a case of waiting around for the magic to happen. Eventually you’ll see the solder melt on the QFNs pads. At the same time it will jump into the correct position. Turn off the heat immediately, and point a fan at it (or gently blow on it).
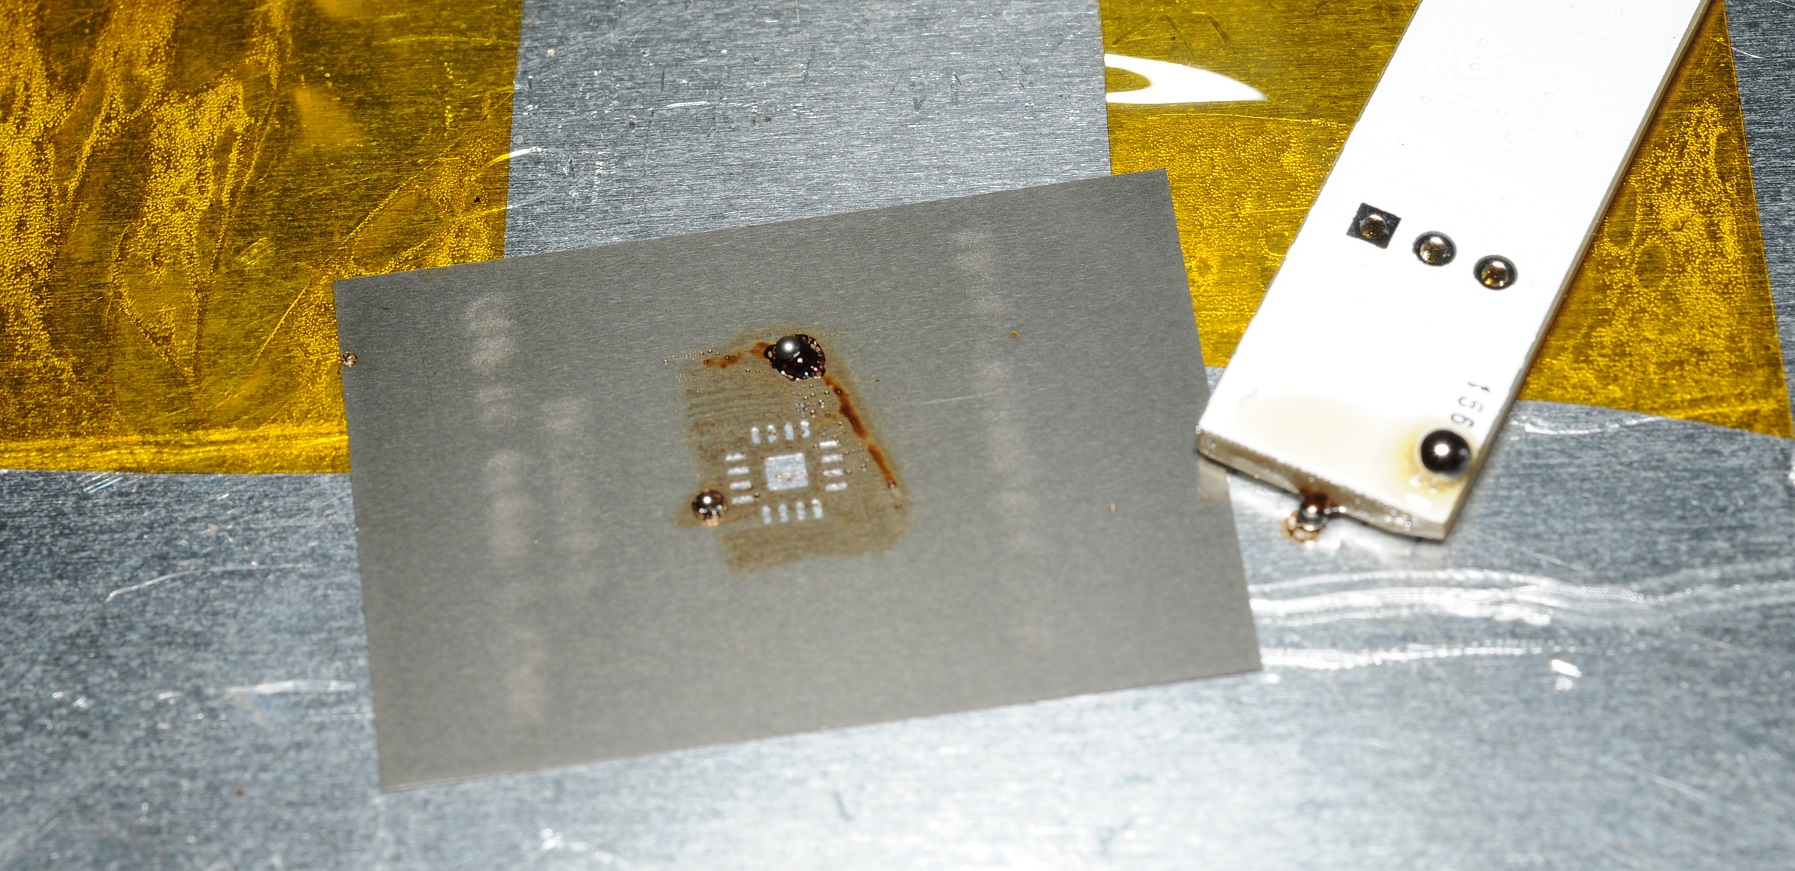
Wait for things to cool down completely, then remove the soldered board from the aluminium plate, and put aside.
Turn the heat back on, and wait for the solder on the stencil and applicator PCB to de-atomise (melt). This is a very important safety step. The excess solder paste can now be safely disposed of.
Some may be tempted to do this part with a hot air gun of some sort. I’d not recommend it. There is a risk of blowing solder-paste covered items all over the place, also, soldering surface mount components with ground pads using hot-air from the top requires the part be heated to a very high temperature to flow the solder underneath, risking damage.
All of the above may look like a bit of a chore, but it only took me 5 minutes from end to end.
If you did have to clean up and paste with wipes at any point throughout the process, seal them in plastic bags before disposal, just in case the bin is knocked over, or someone reaches into the bin for whatever reason.
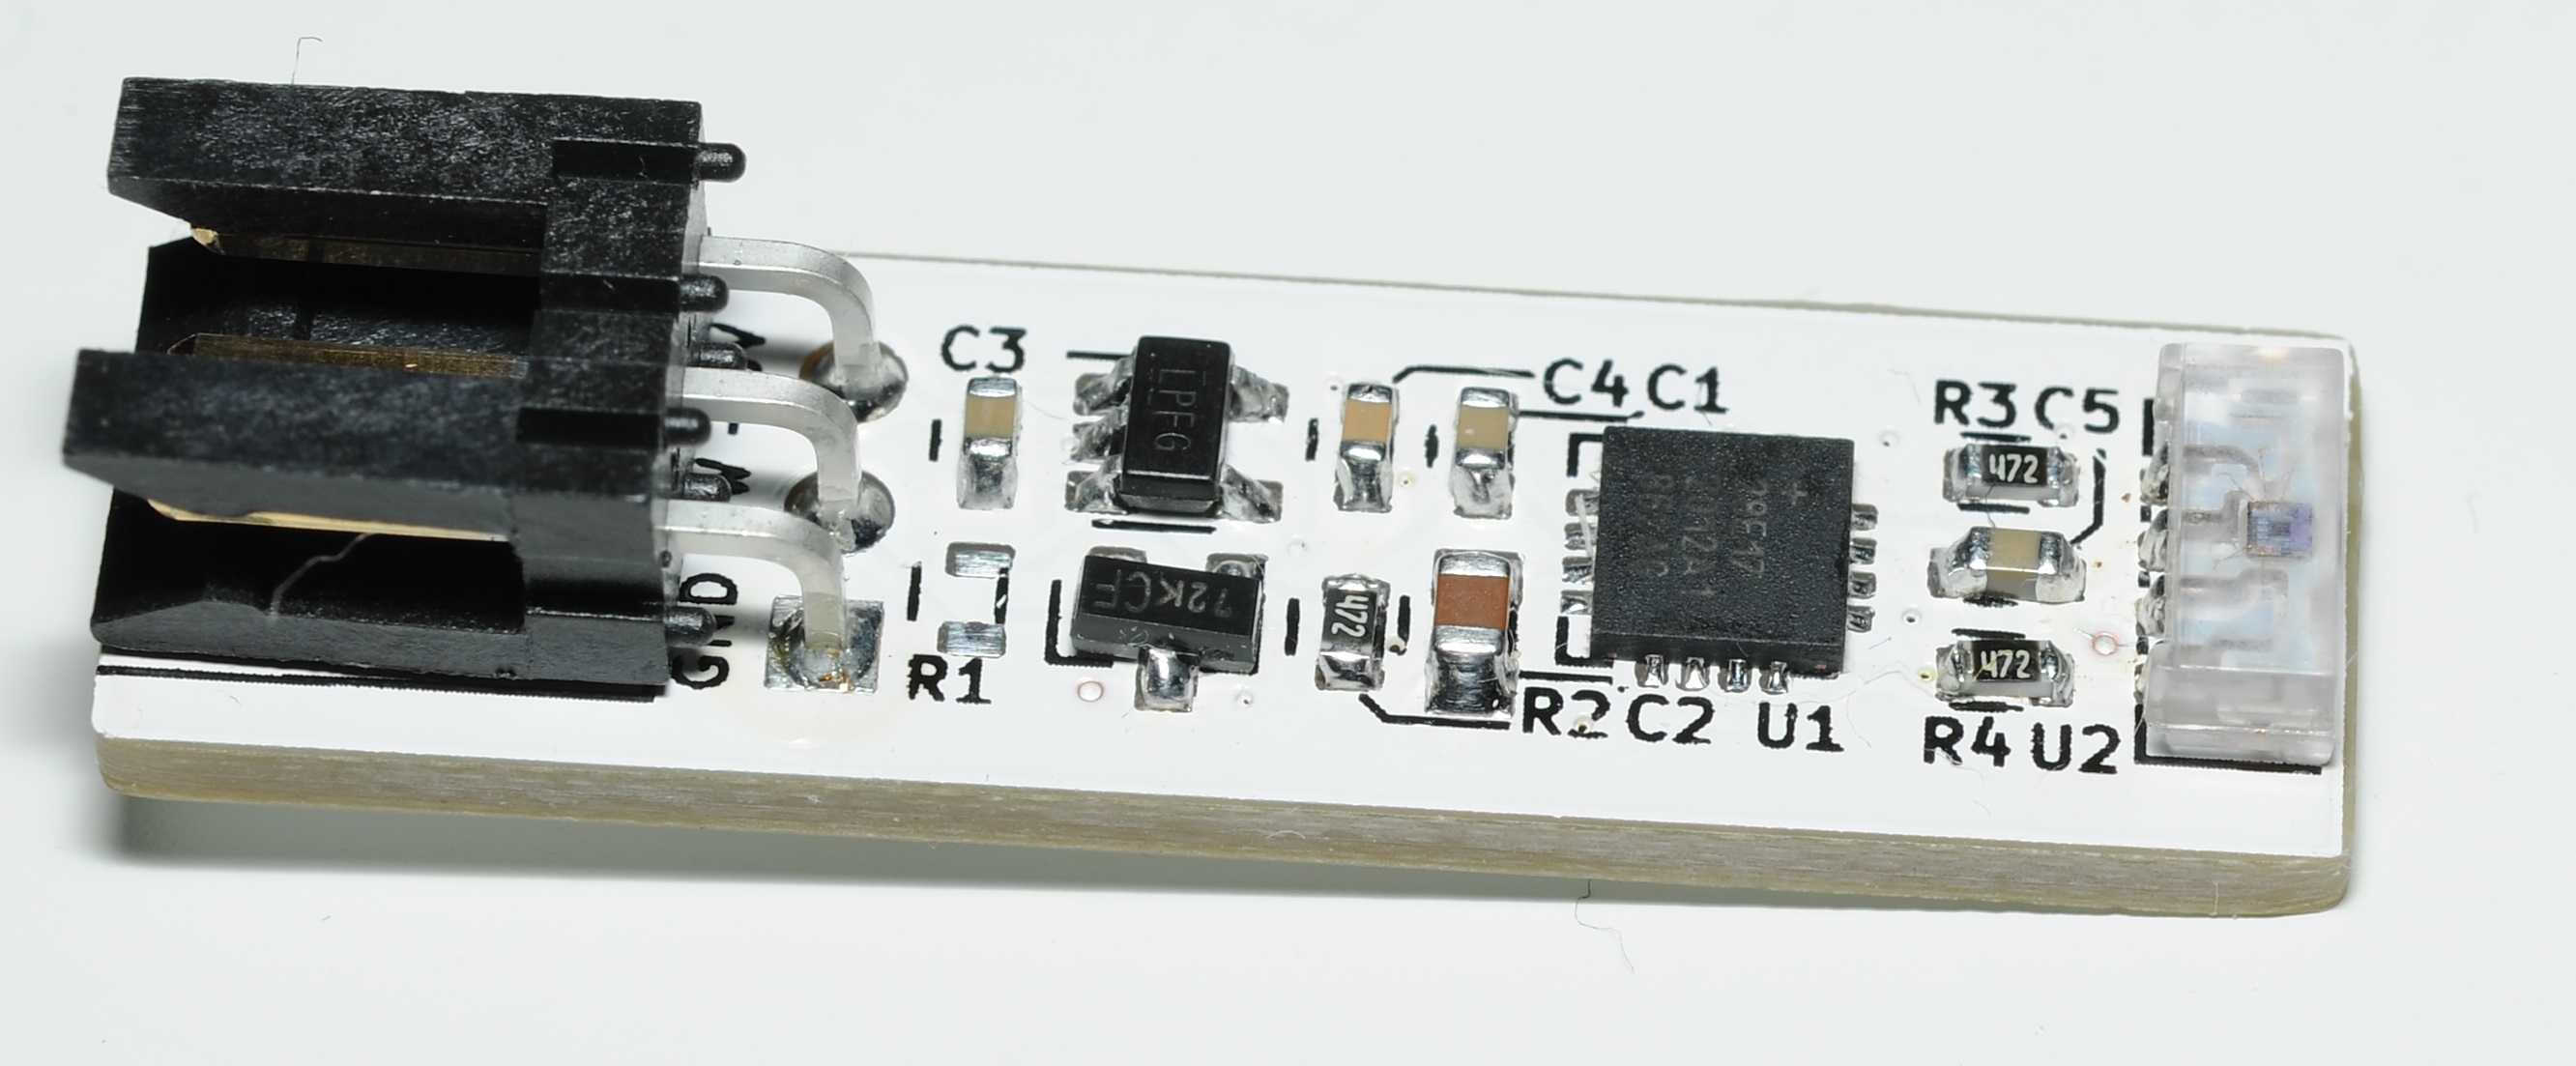
A very nice finished result as we would expect from this technique, and we know that underside ground pad is definitely soldered down properly, the most common concern with other techniques. The same cannot be said for the other hand soldered parts on the board!
Posted in Bits and pieces